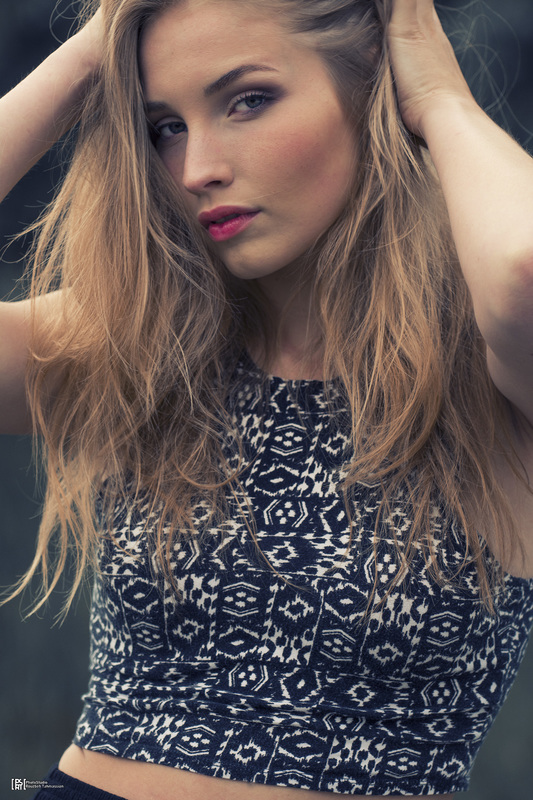
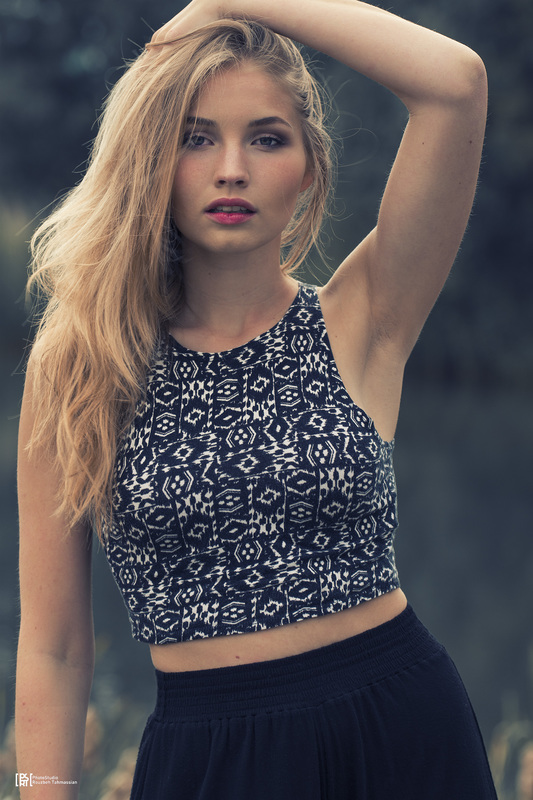
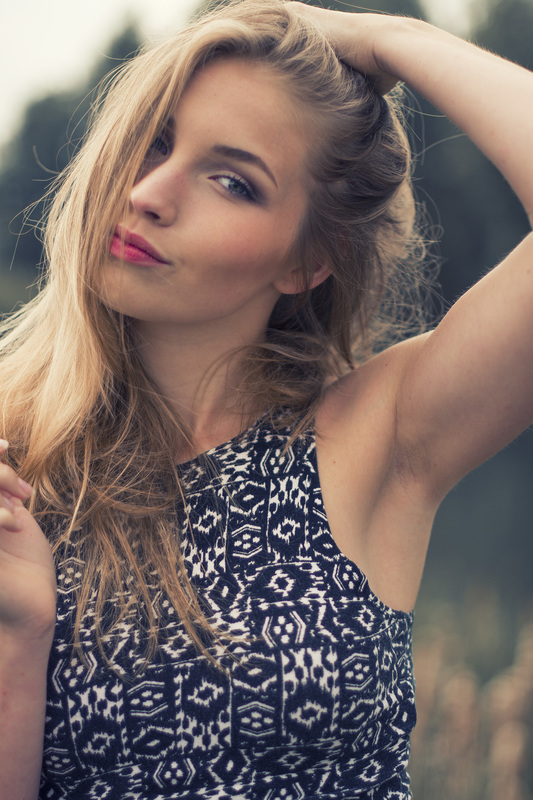
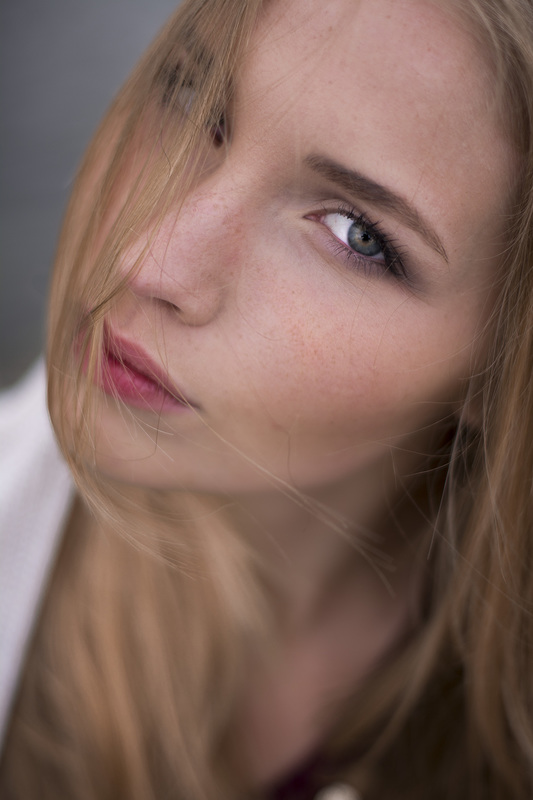
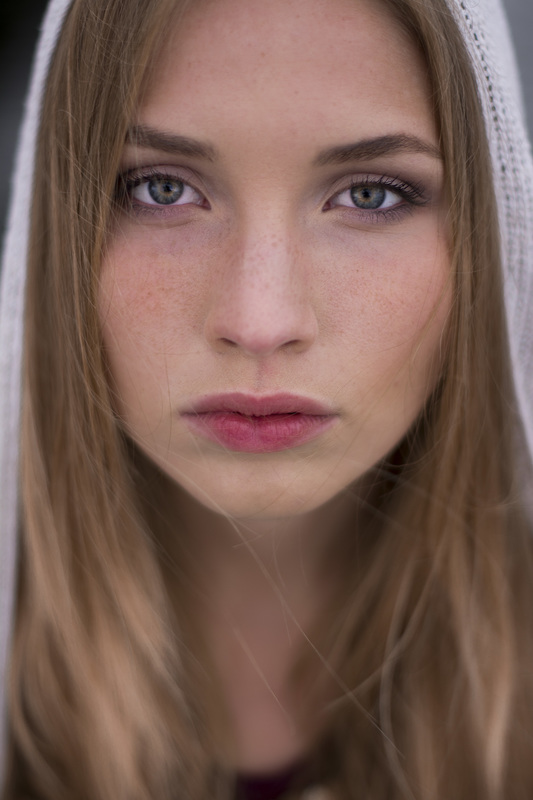
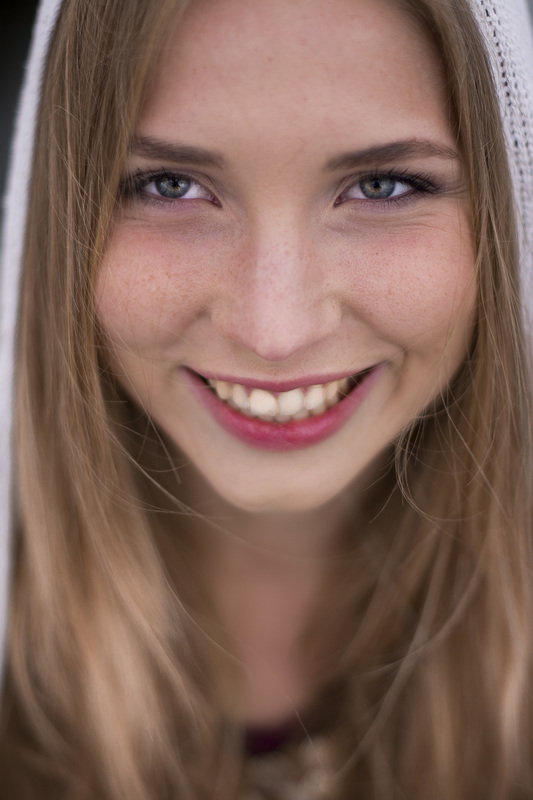
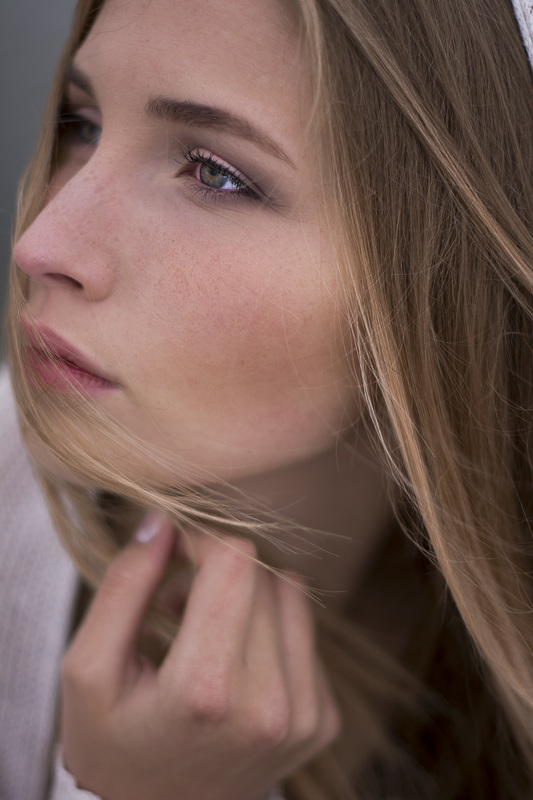
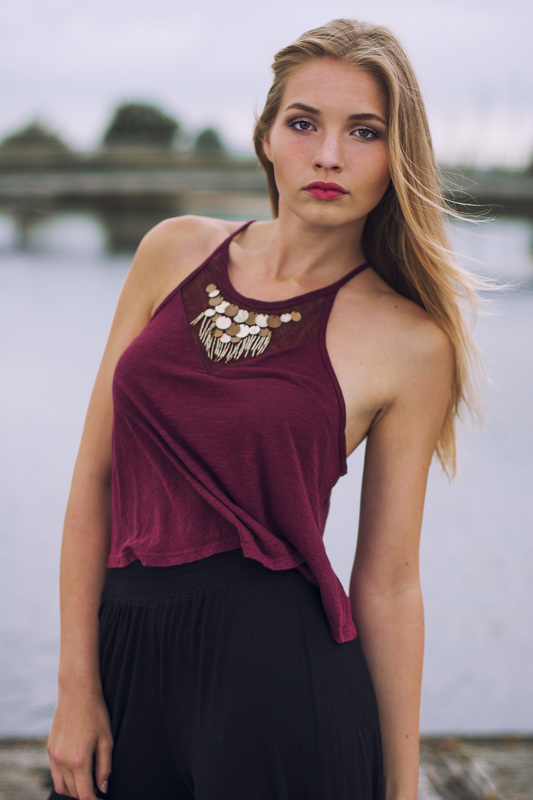
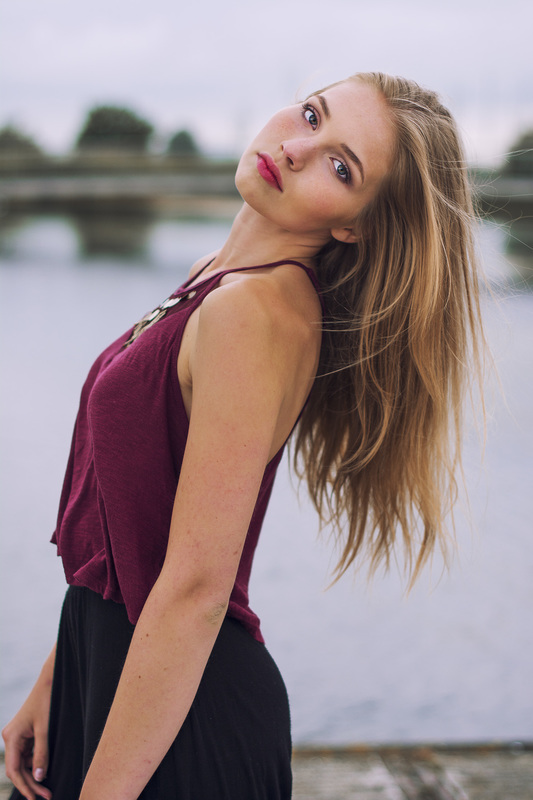
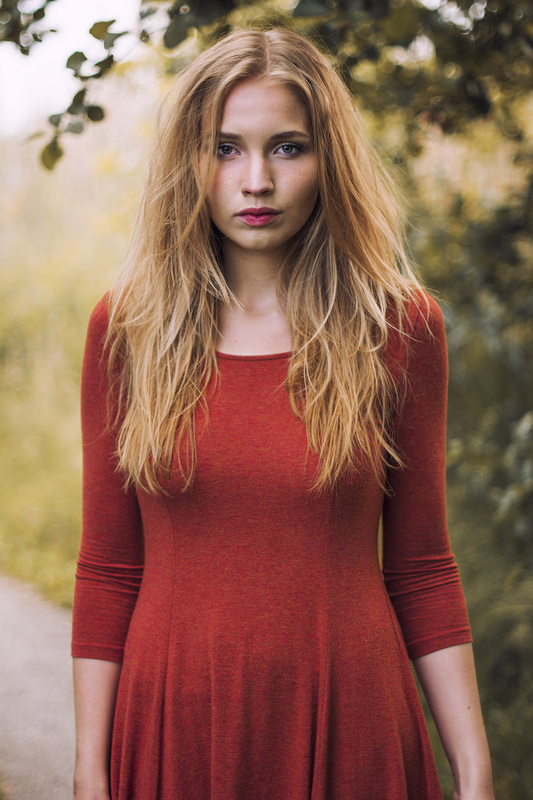
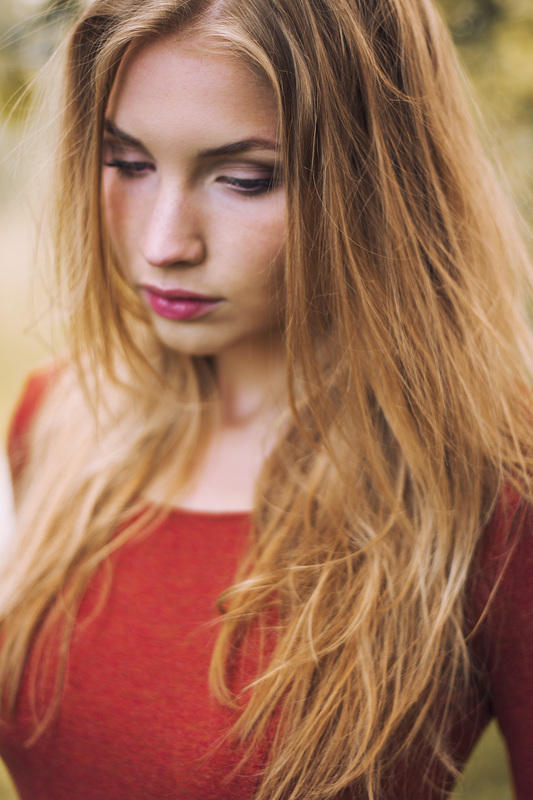
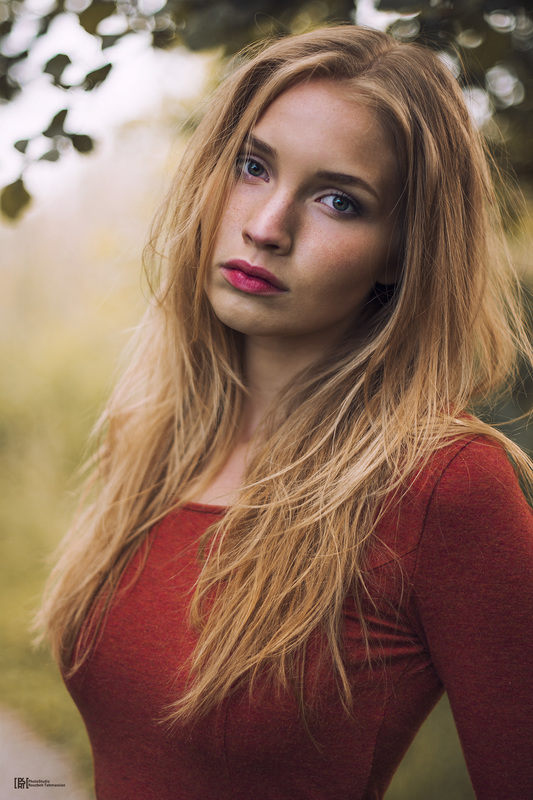
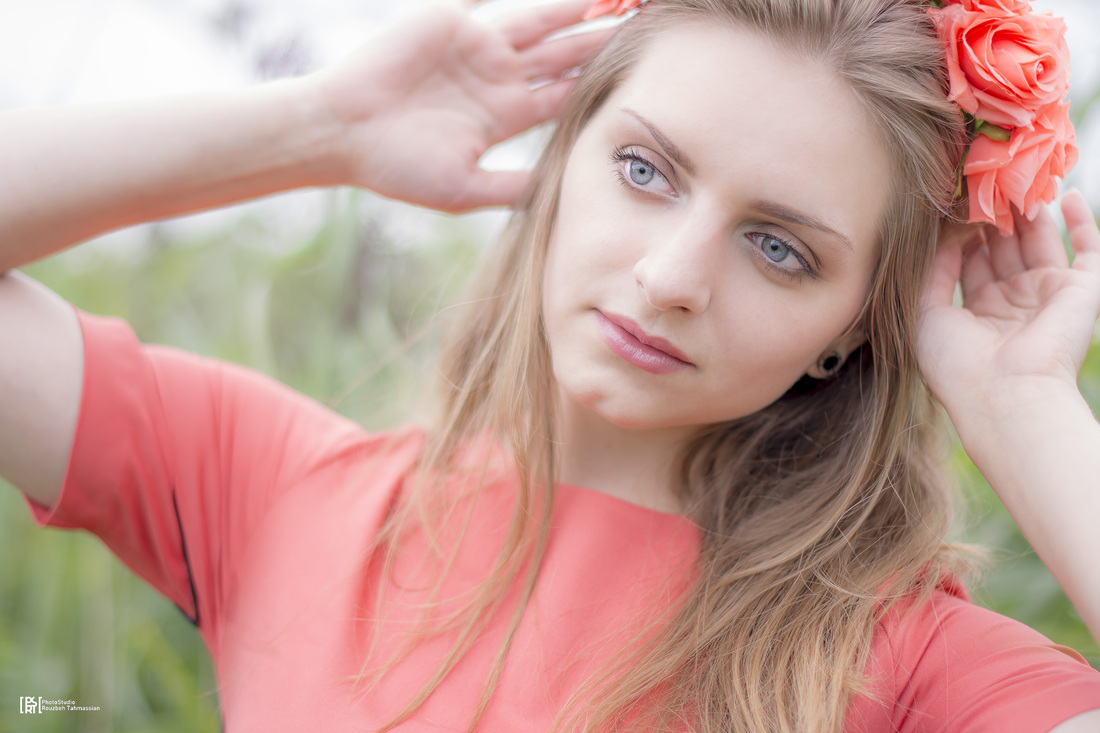
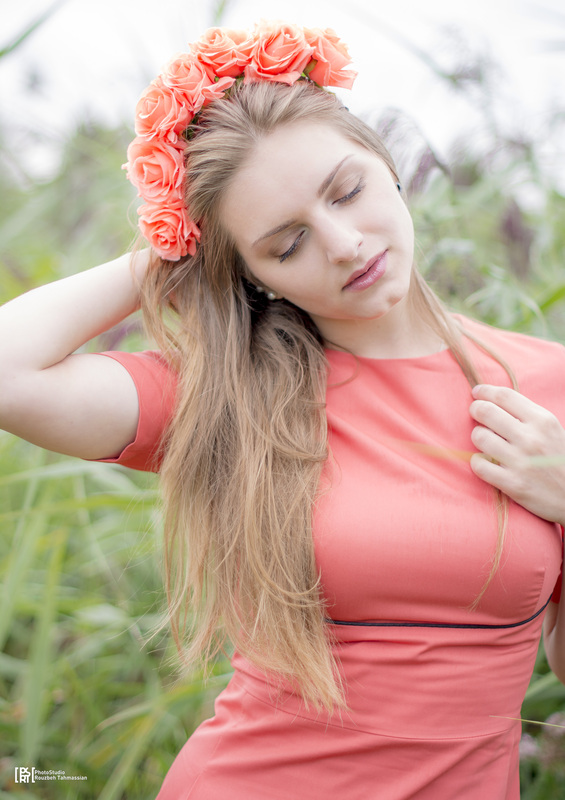
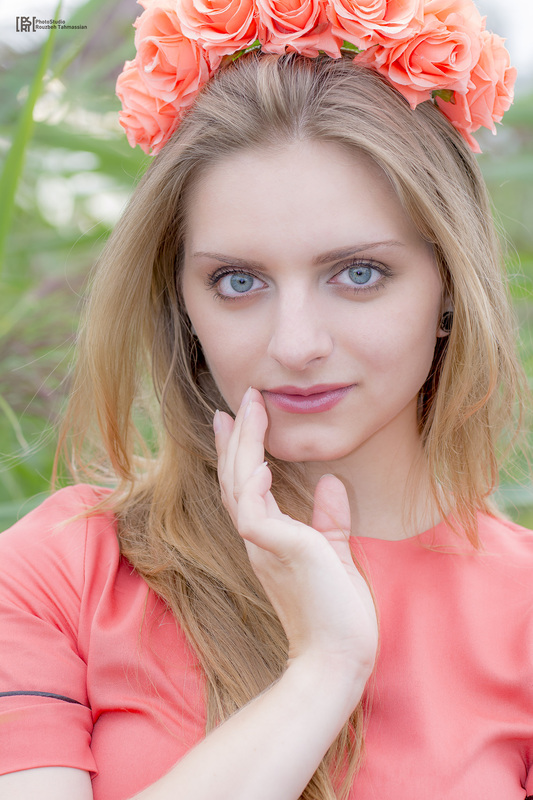
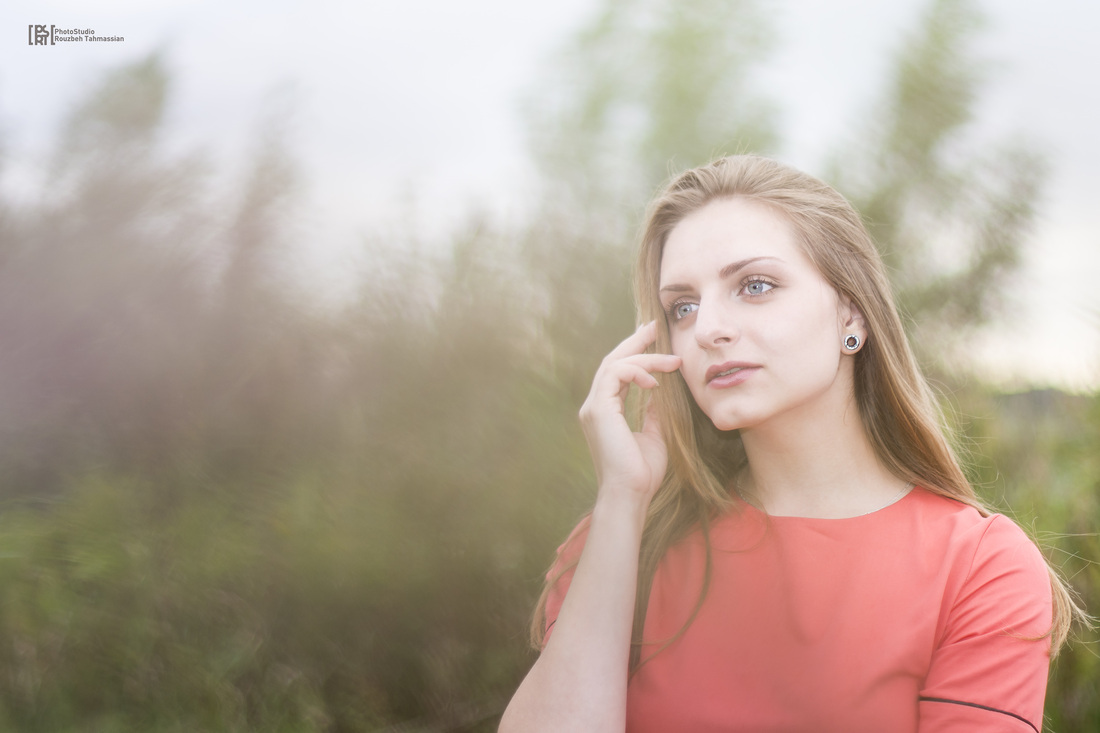
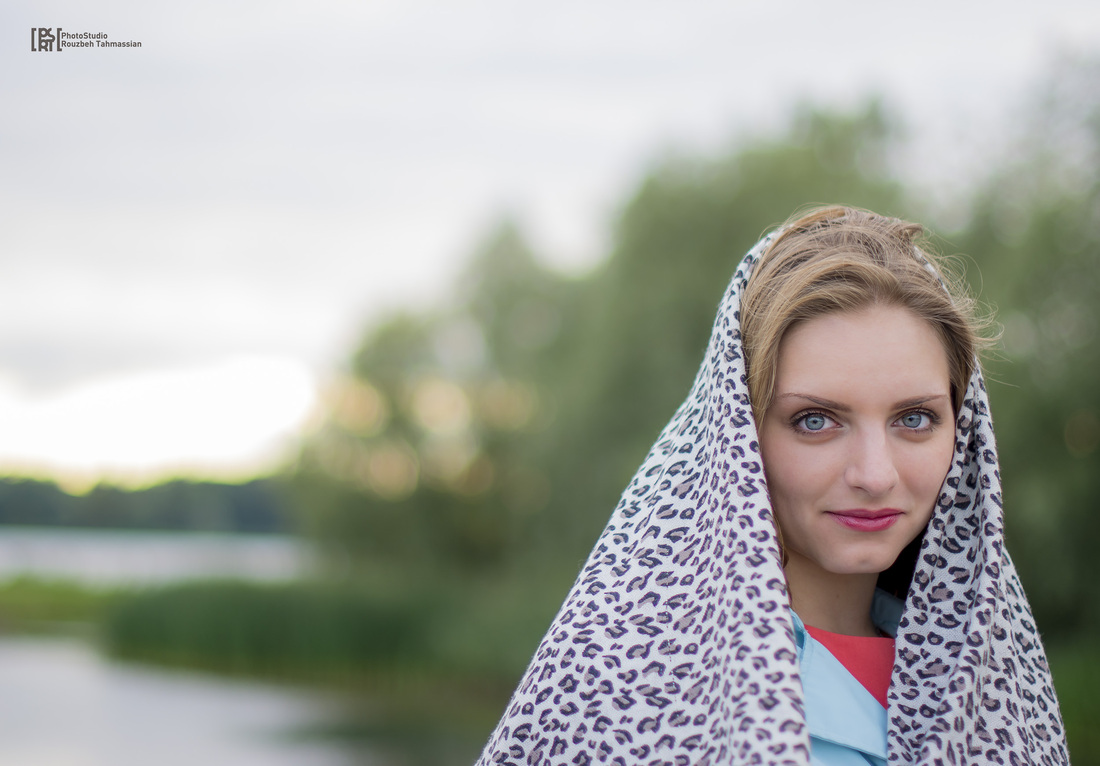
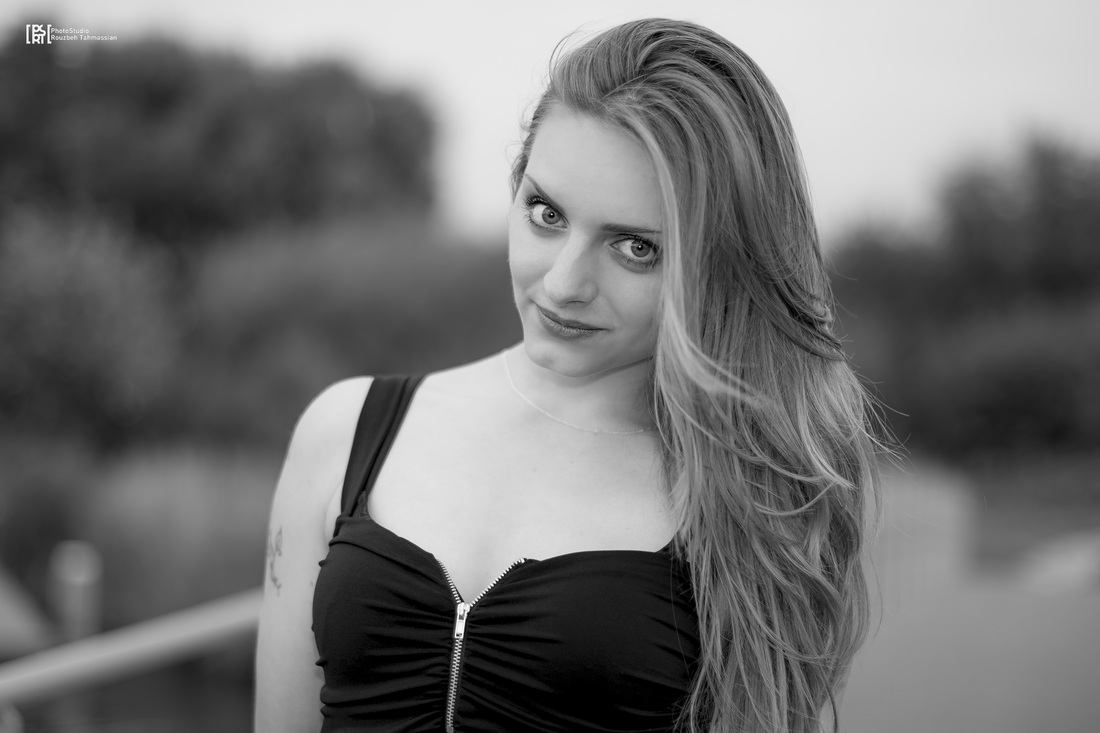
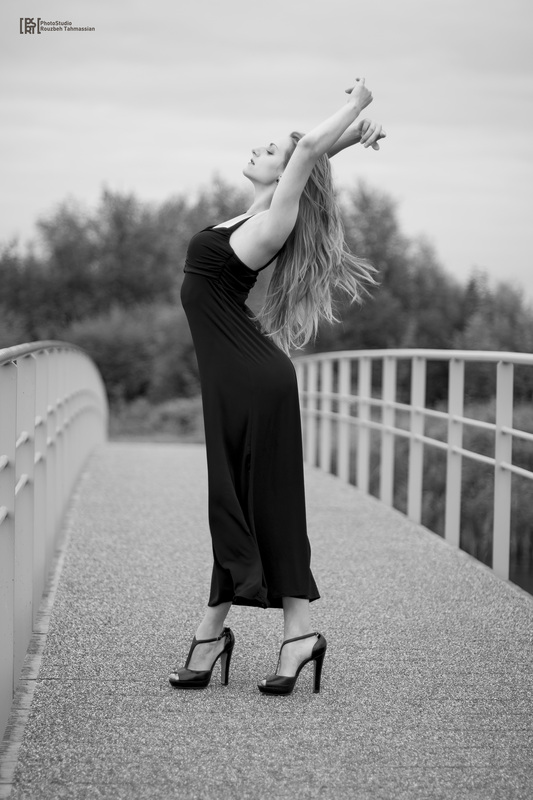
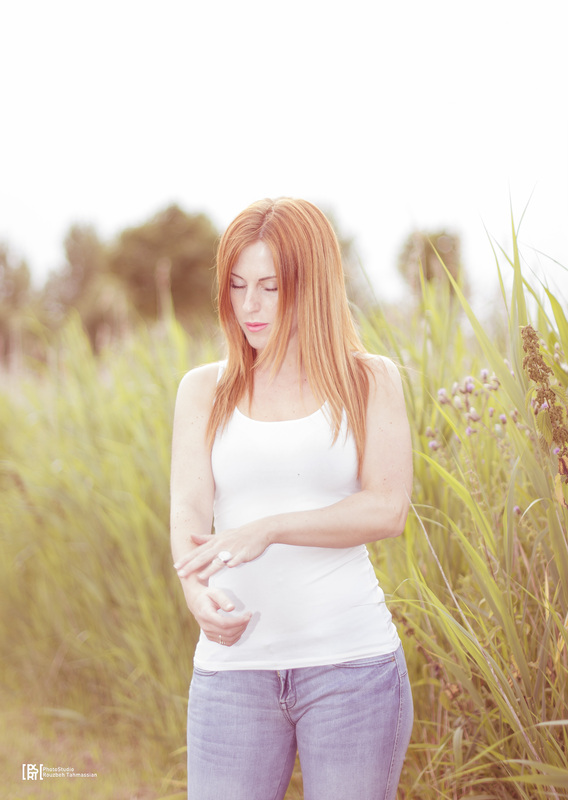
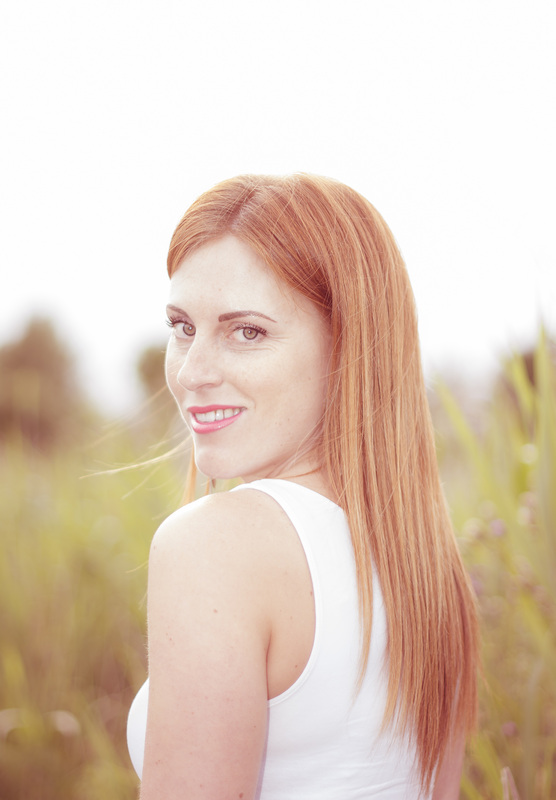
So this shoot with the beautiful Cisca was inspiring. The shoot was planned to work out face shots as materiaal for my mixed media work. It turned out to become a complete shoot after all. Here's my coverage of a great day.
 |  |
 |  |  |
 |  |

 |  |
 |  |

 |  |
|
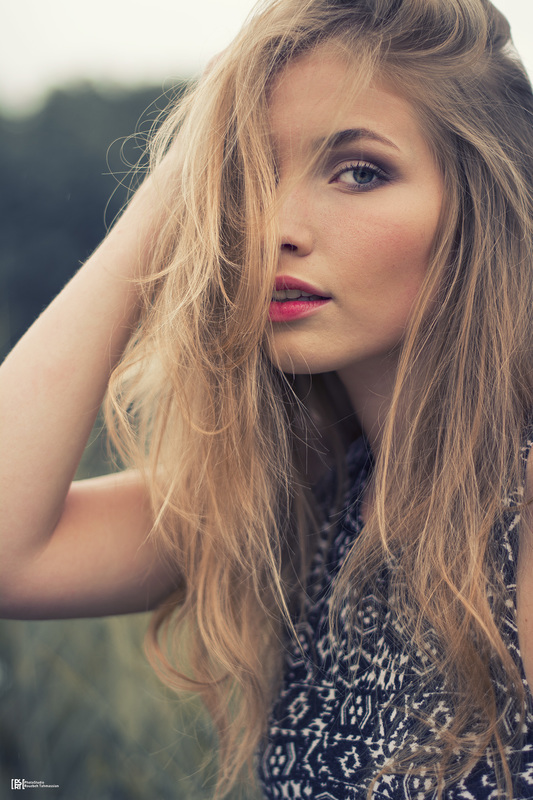
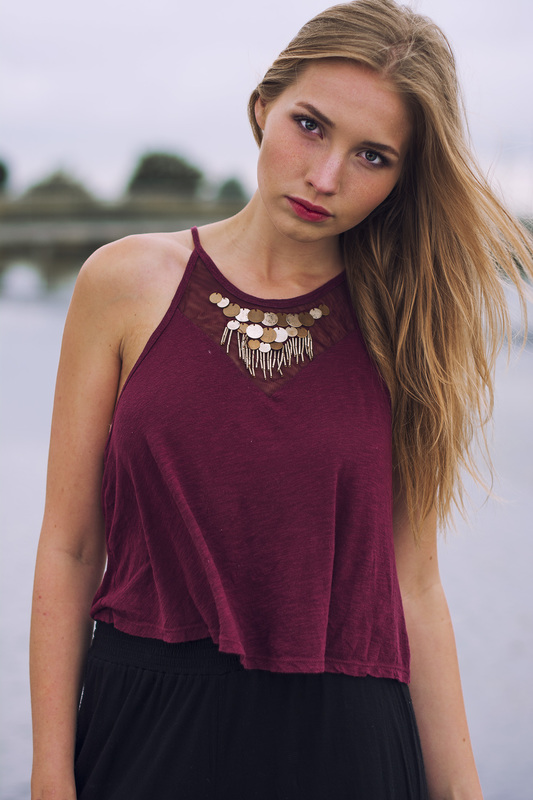
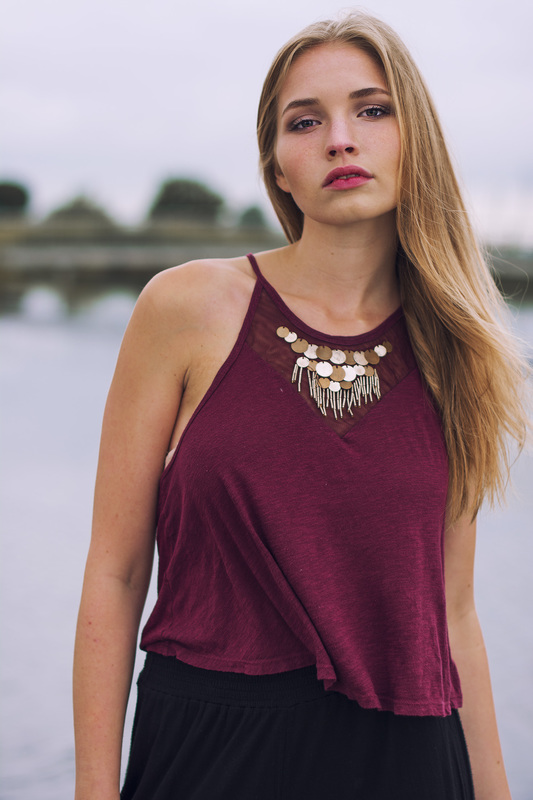
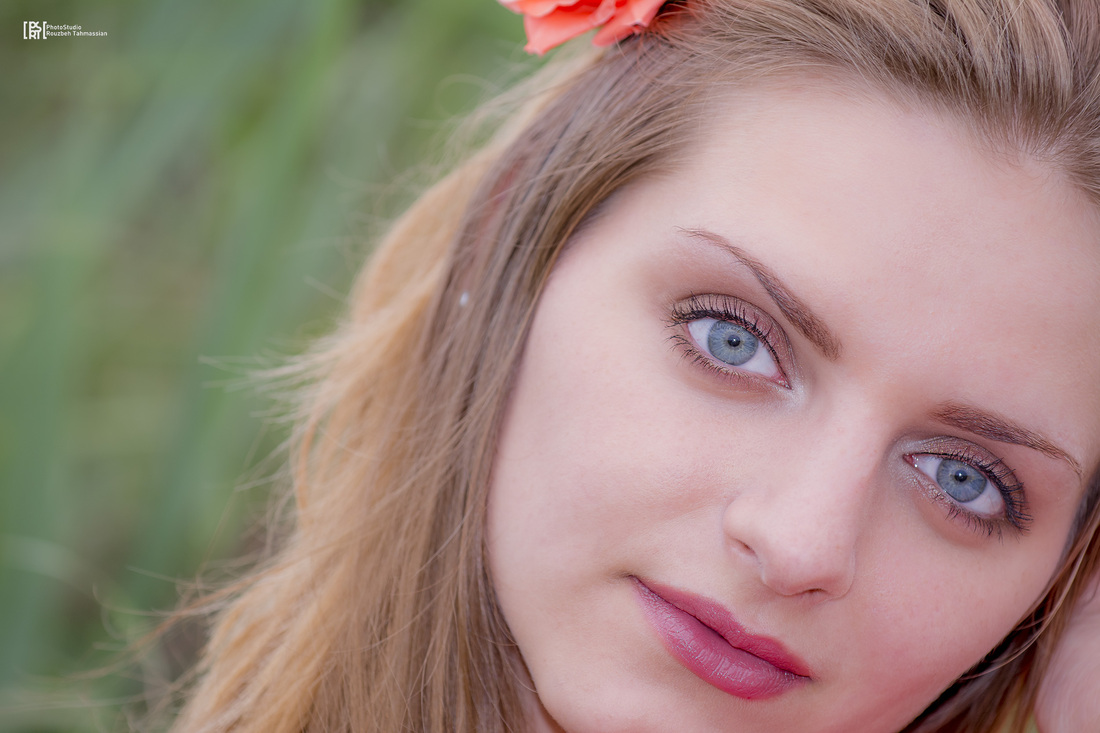
So this shoot with the beautiful Cisca was inspiring. The shoot was planned to work out face shots as materiaal for my mixed media work. It turned out to become a complete shoot after all. Here's my coverage of a great day.
0 Comments
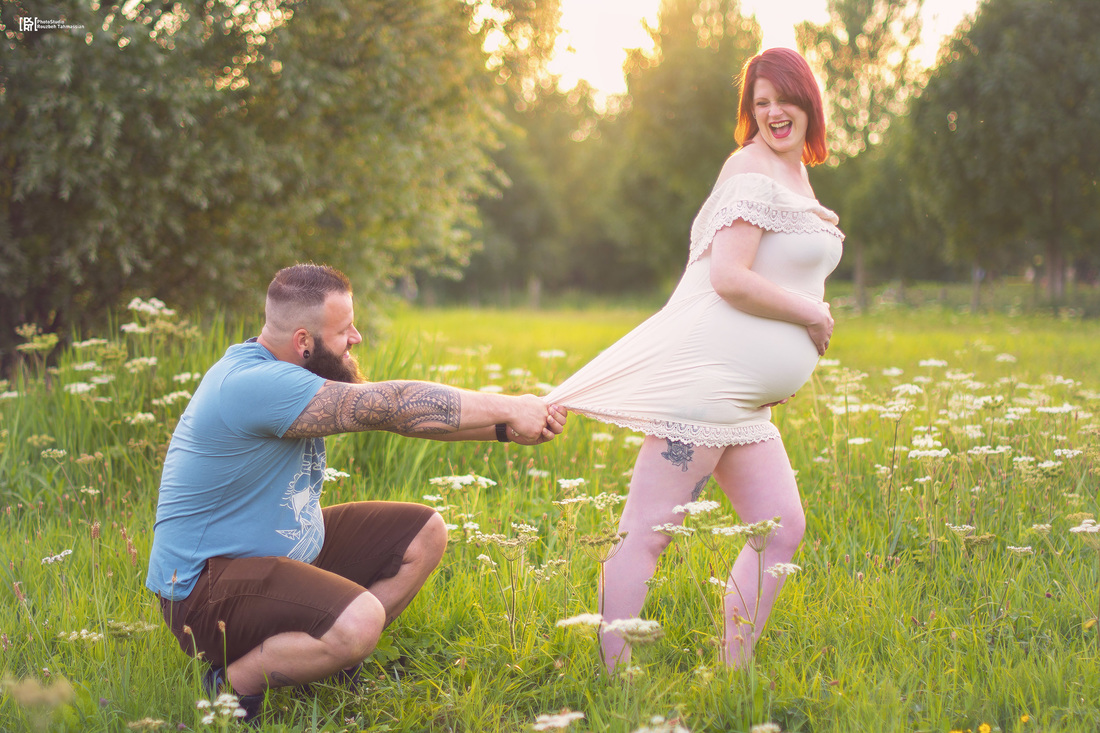
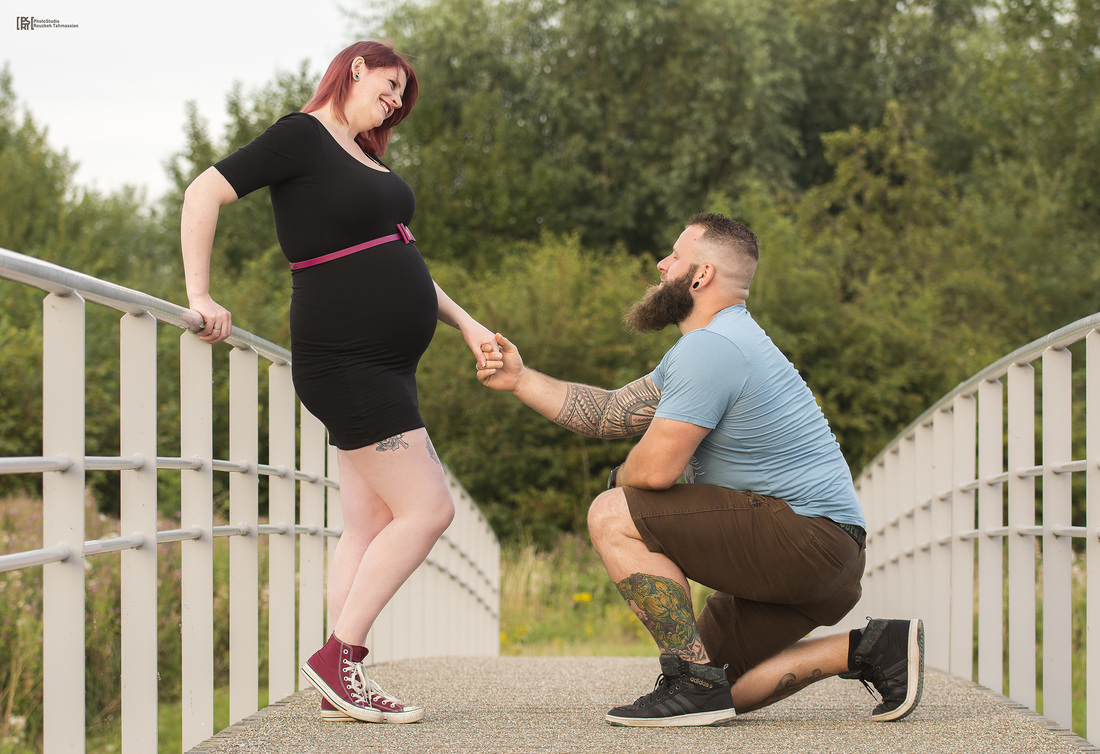
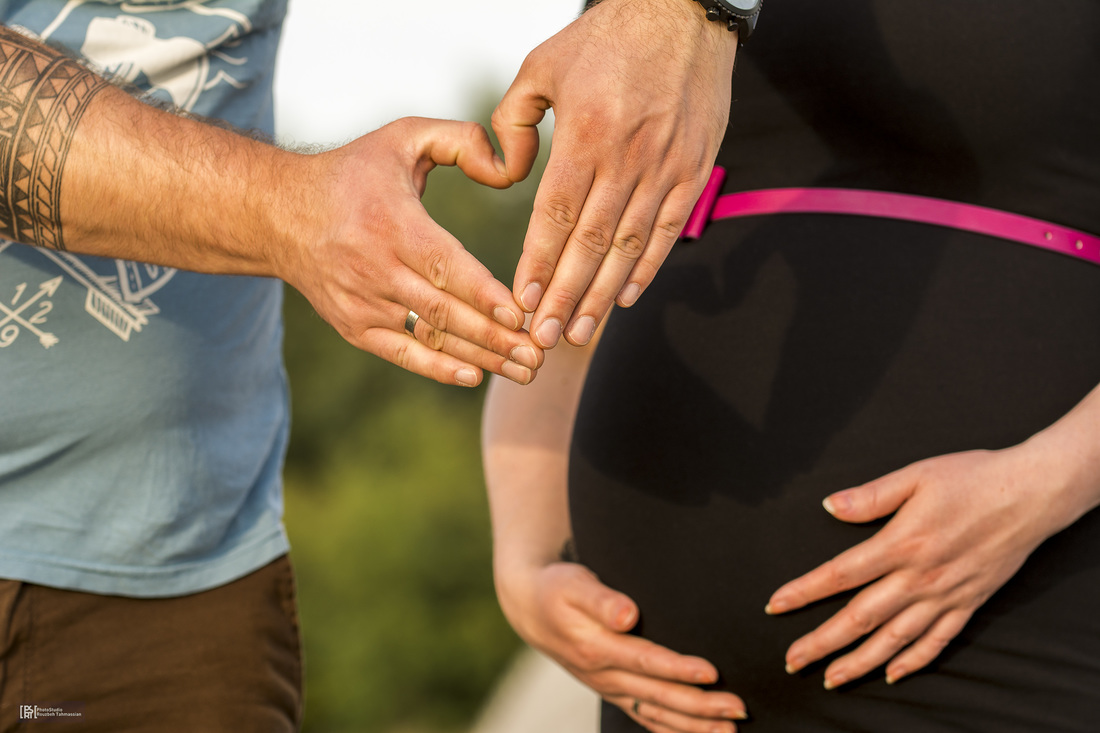
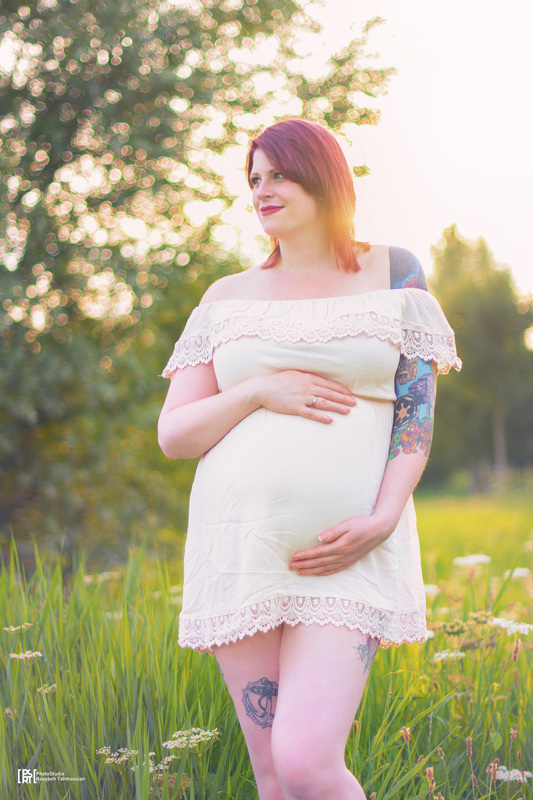
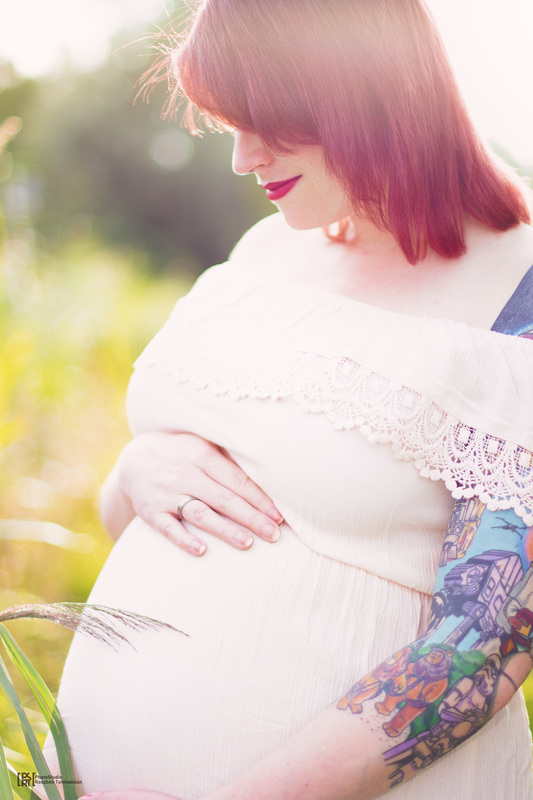
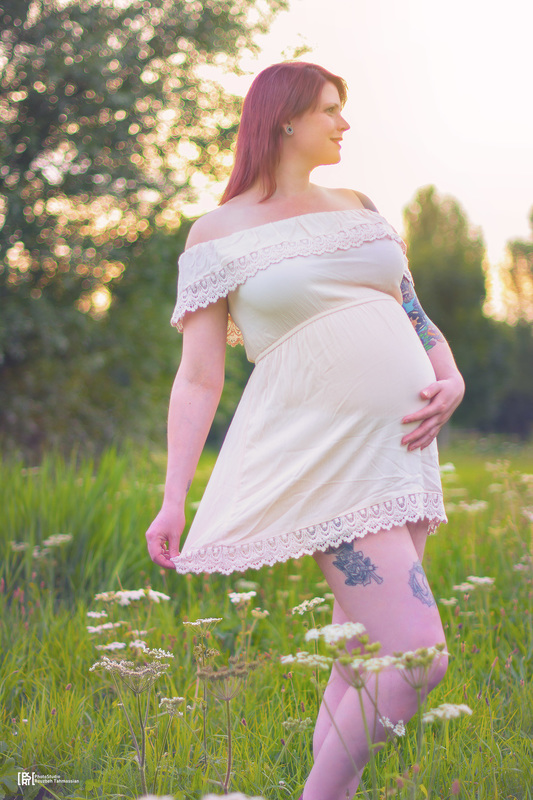
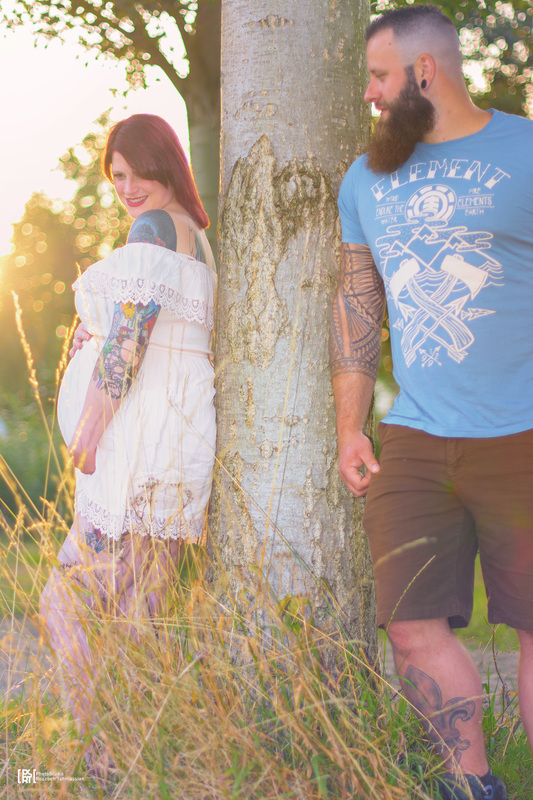
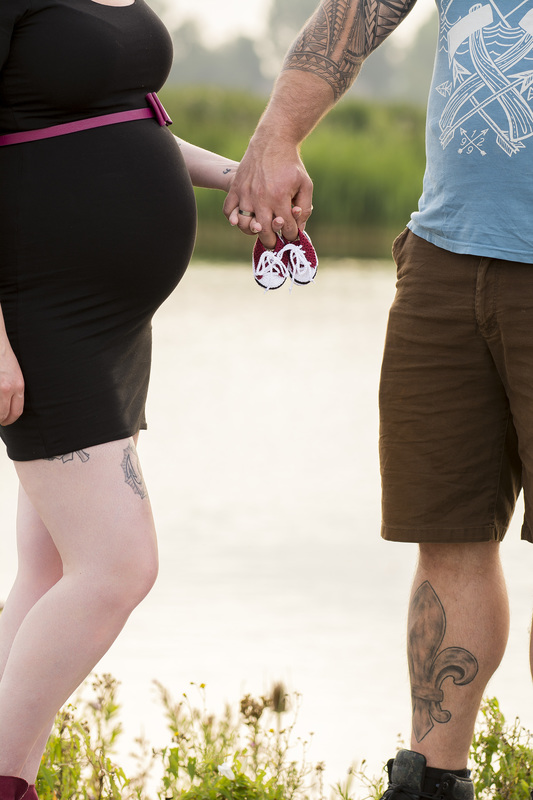
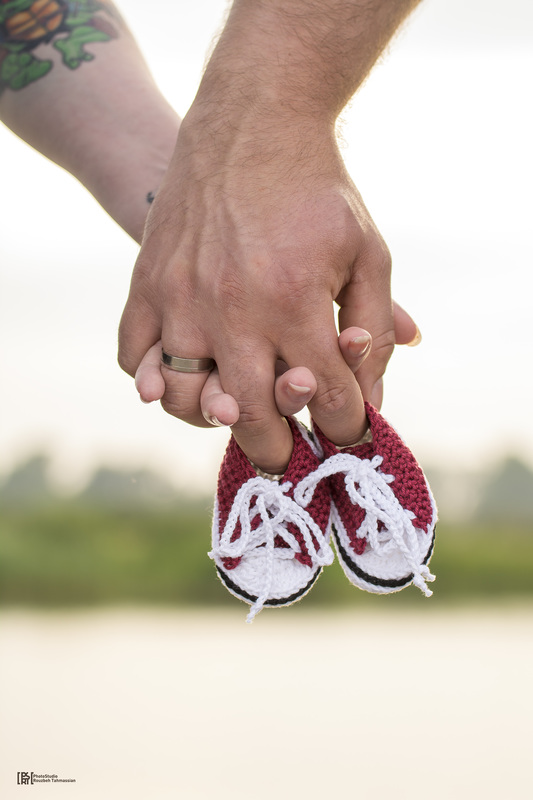
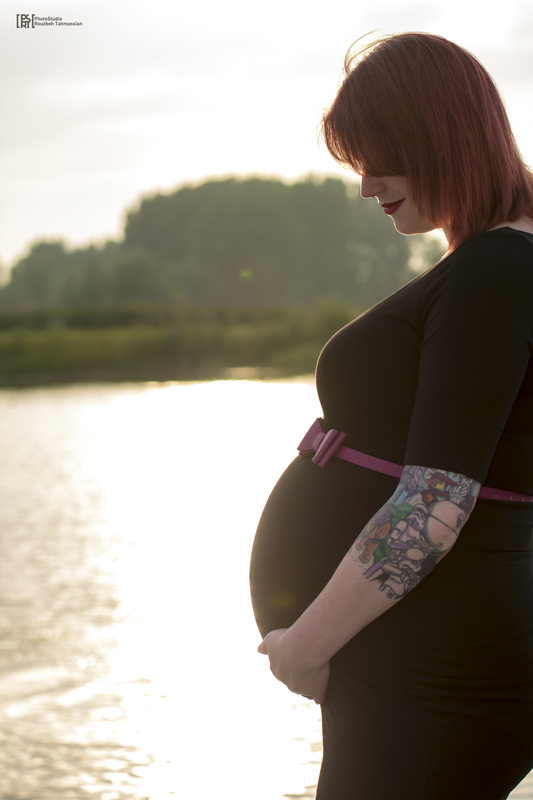
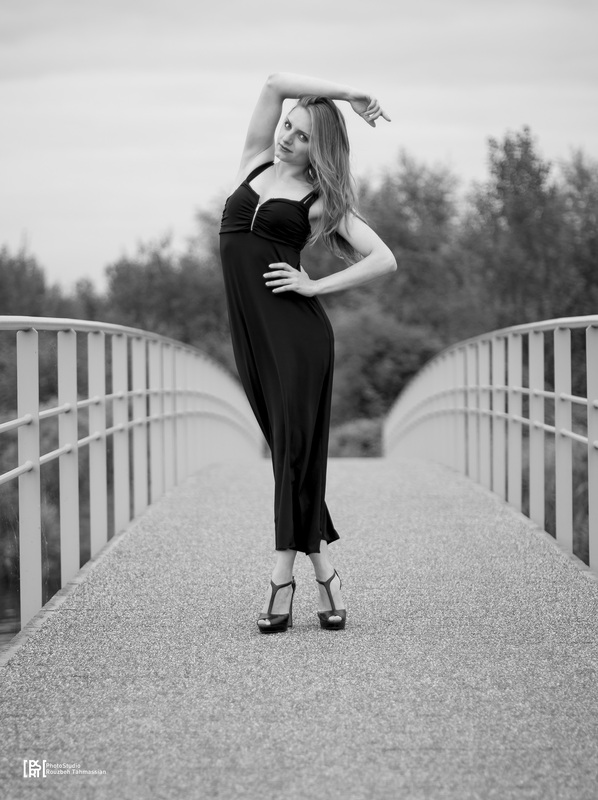
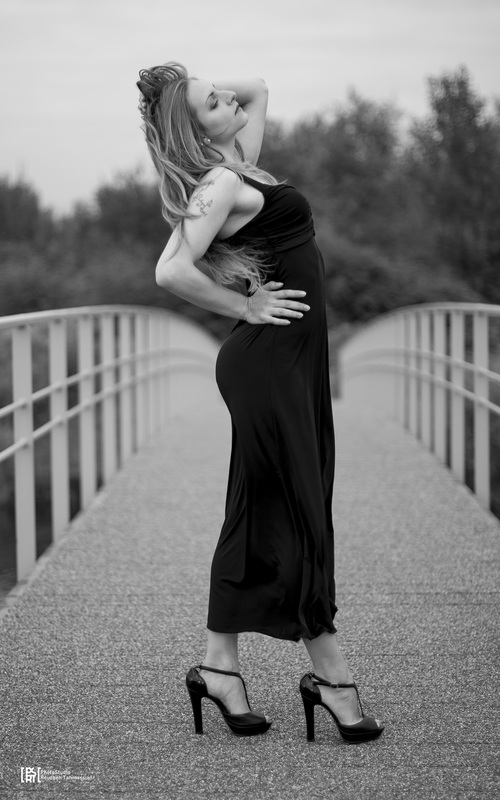
I had a great time doing my first maternity shoot with a lovely couple. Rana was about 33+ weeks during the shoot. I was able to "blend" them both in the surrounding quite well. The lighting circumstances were outstanding for this type of shoots. Here is my humble coverage of the day, enjoy!
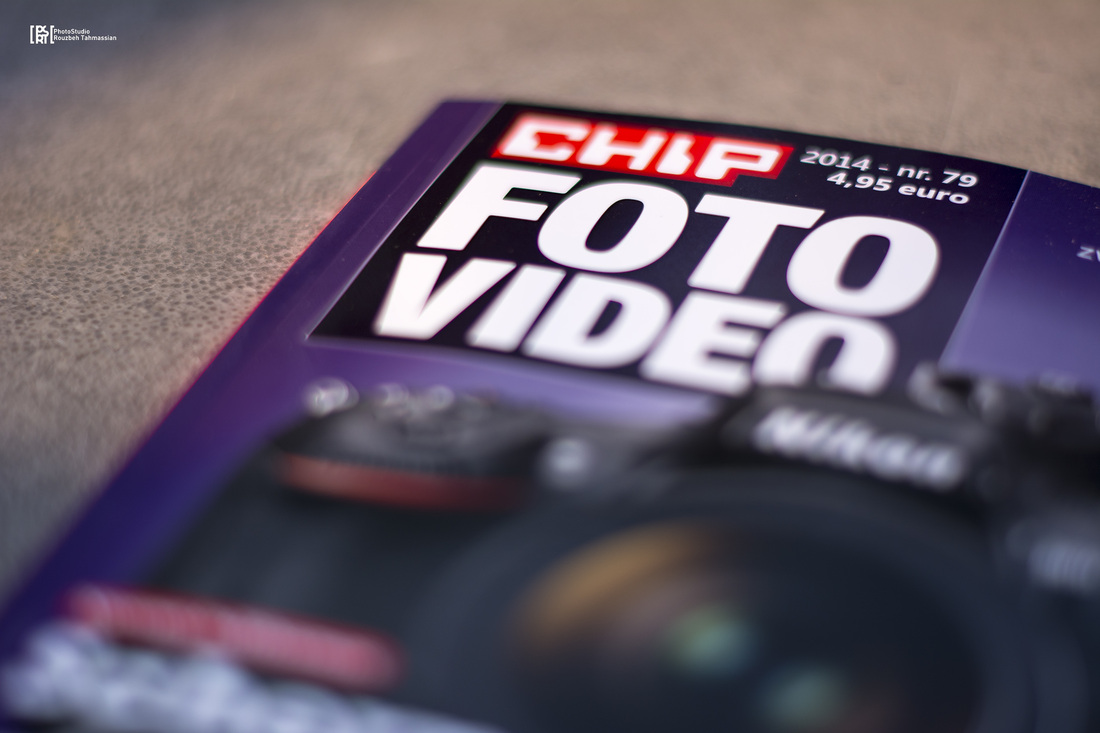
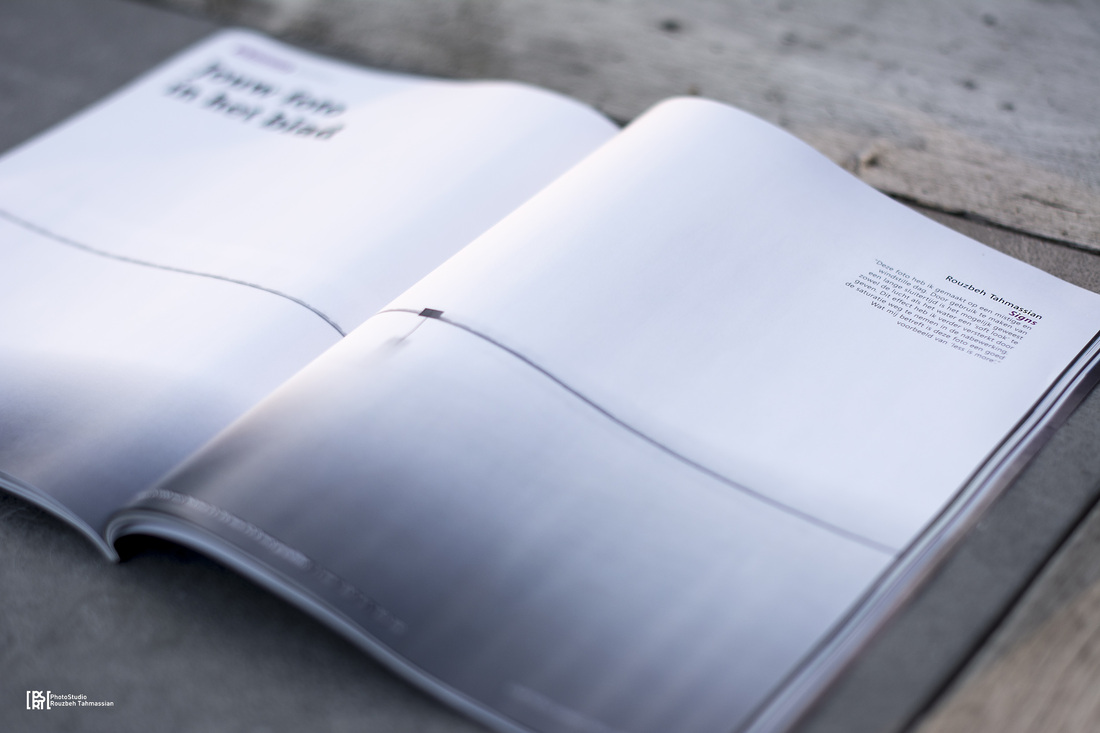
My third magazine publication is a fact. It's not just a publication, it's one on a double page! The monochrome long exposure shot, titled "Signs", got published in the photography magazine Chip Foto Video, issue 79. Check out the original and published picture below. Technical information: Nikon D7100, Tokina 11-16mm F/2.8 AT-X DX. 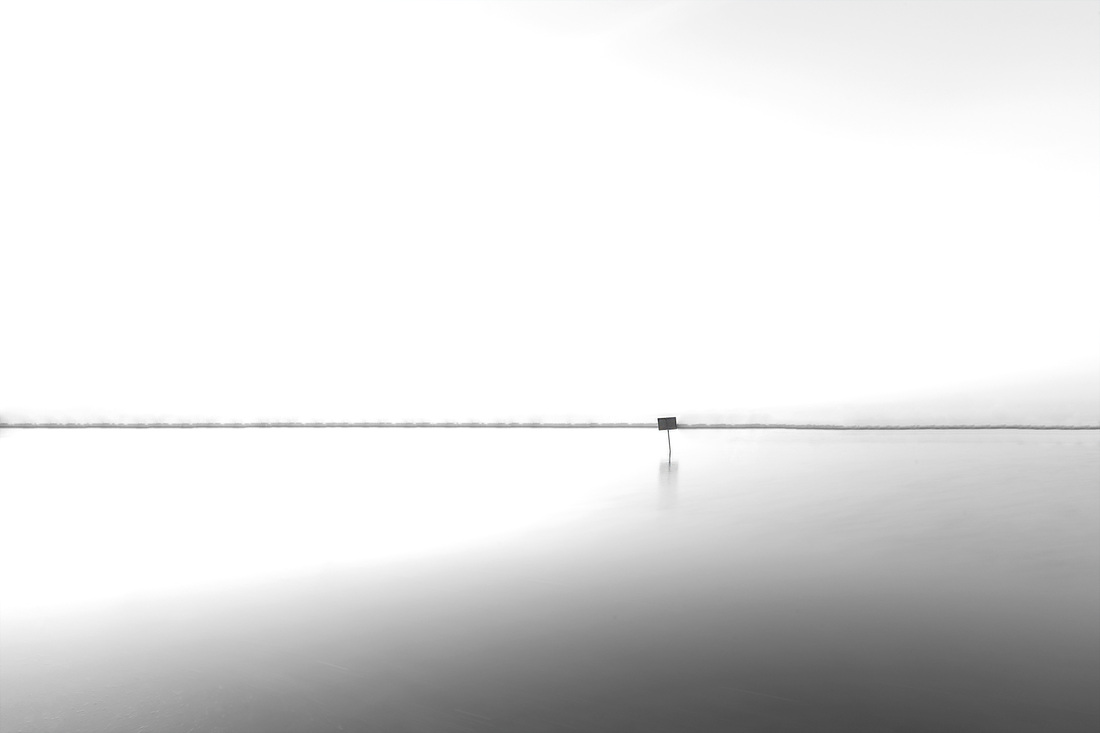
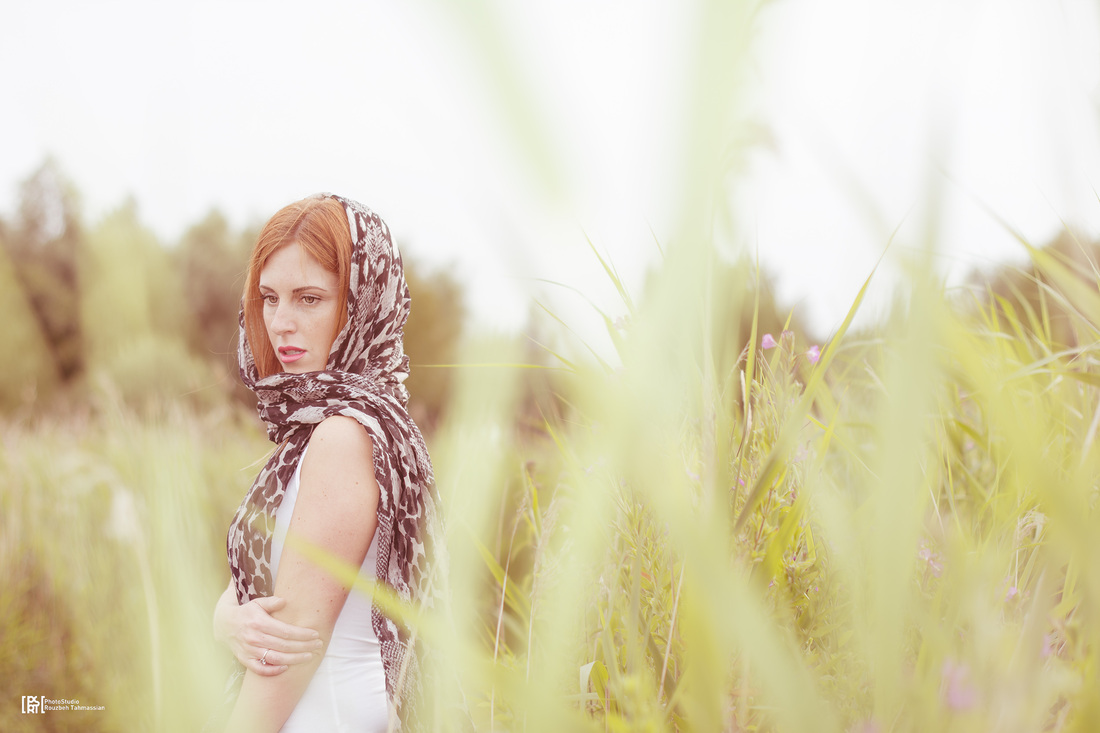
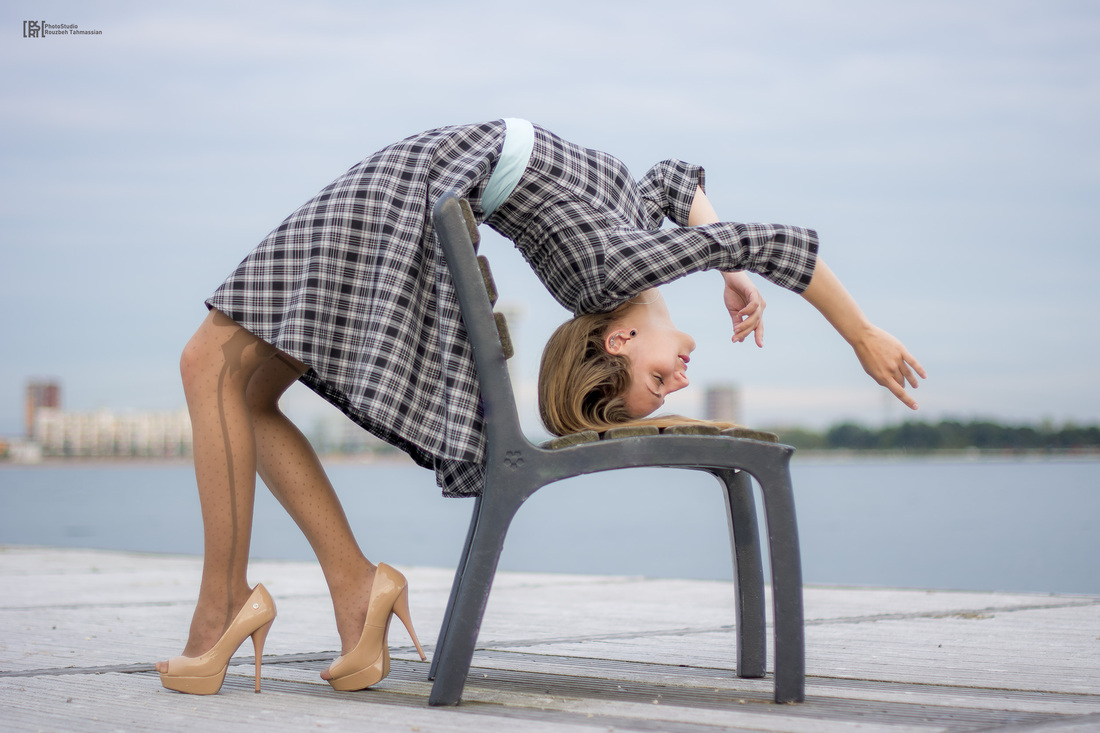
The next outdoor shoot I did was with Anna. Her agility and natural look made this shoot a succes. I really enjoyed working with her. I hope you'll enjoy my coverage with this great model. Anna's page: https://www.facebook.com/psypole Technical information: Nikon D7100, Nikon AF-S 50mm F/1.4G, Nikon AF-S 70-200mm F/4.0G ED VR(III), Nikon SB-700 Flash. 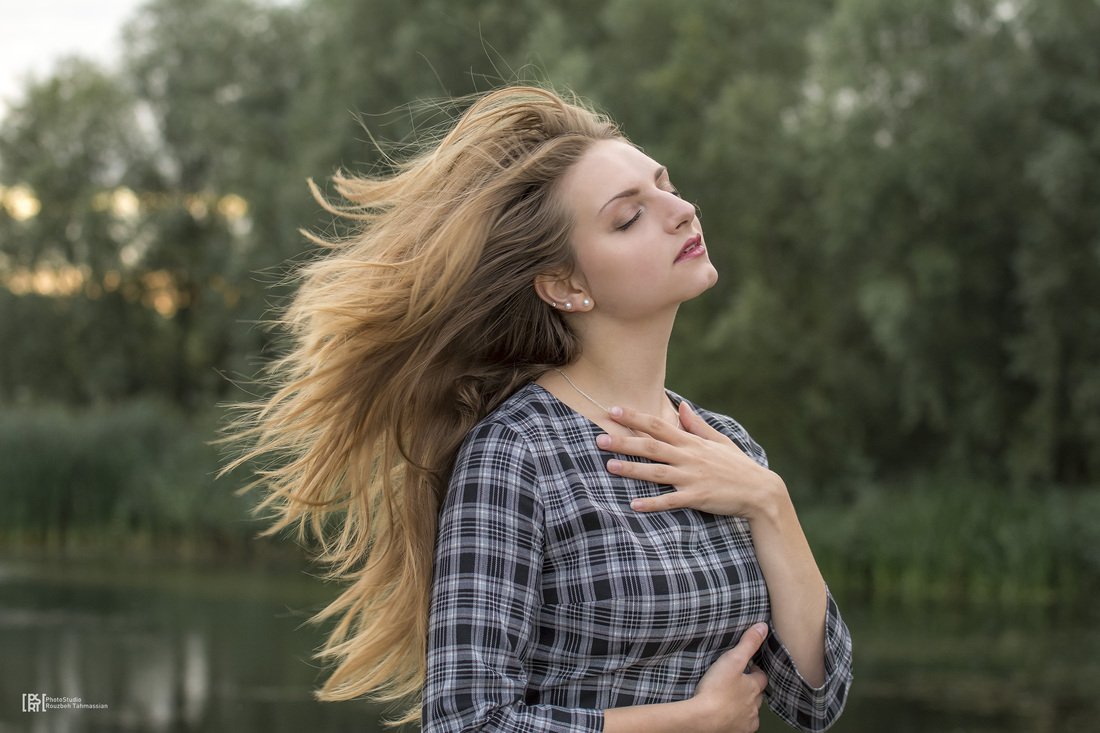 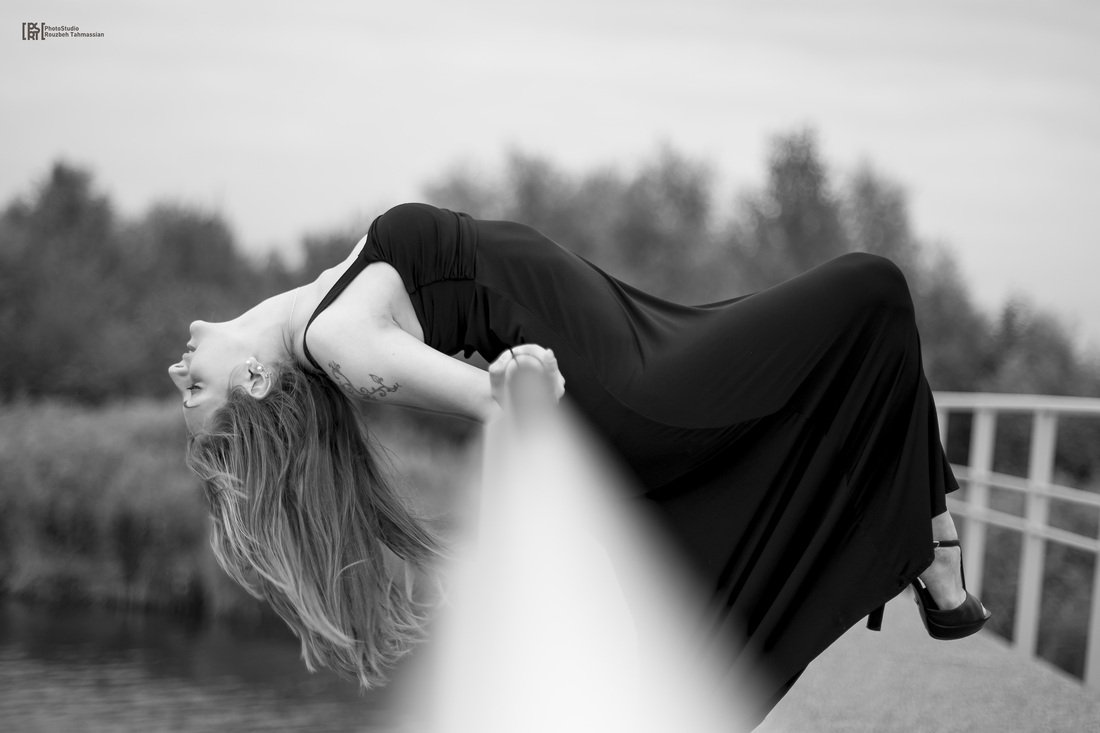 Never knew the portrait of a chicken could turn out to be that interesting to be published. But I am proud about my second official publication in a magazine. This time my chicken, titled "Impressionare", got published in the photography magazine Chip Foto Video, issue 78. Check out the original and published picture below. Technical information: Nikon D7100, Nikon AF-S 70-200mm F/4.0G ED VR(III).  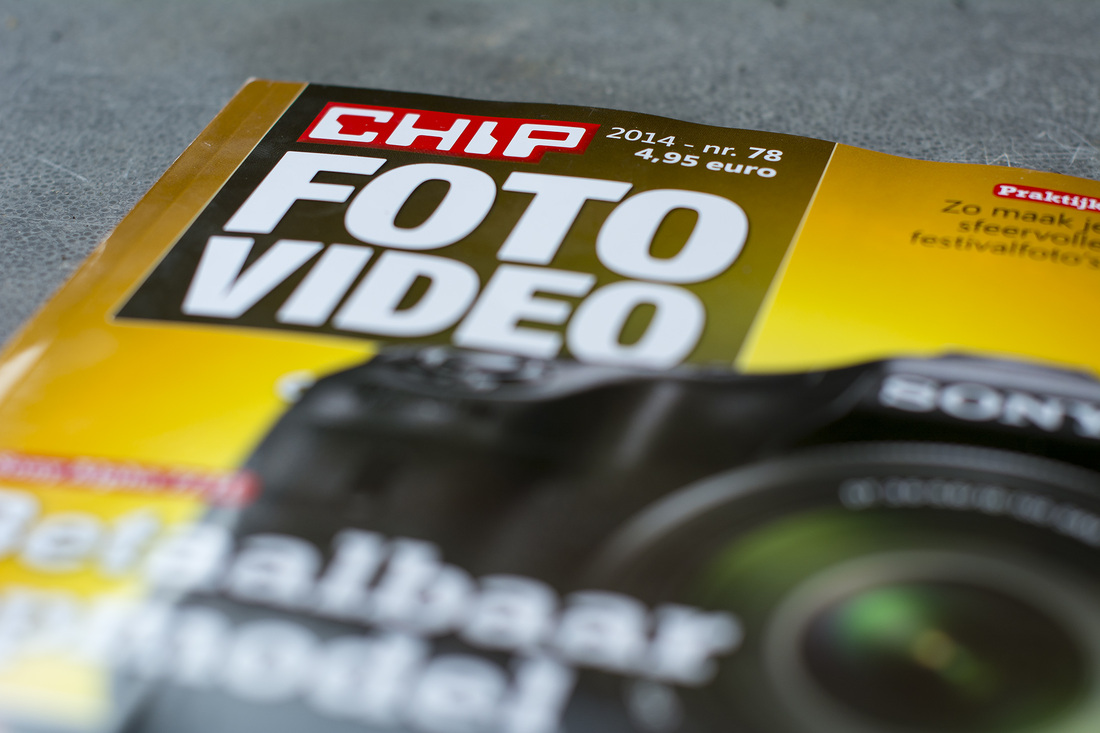 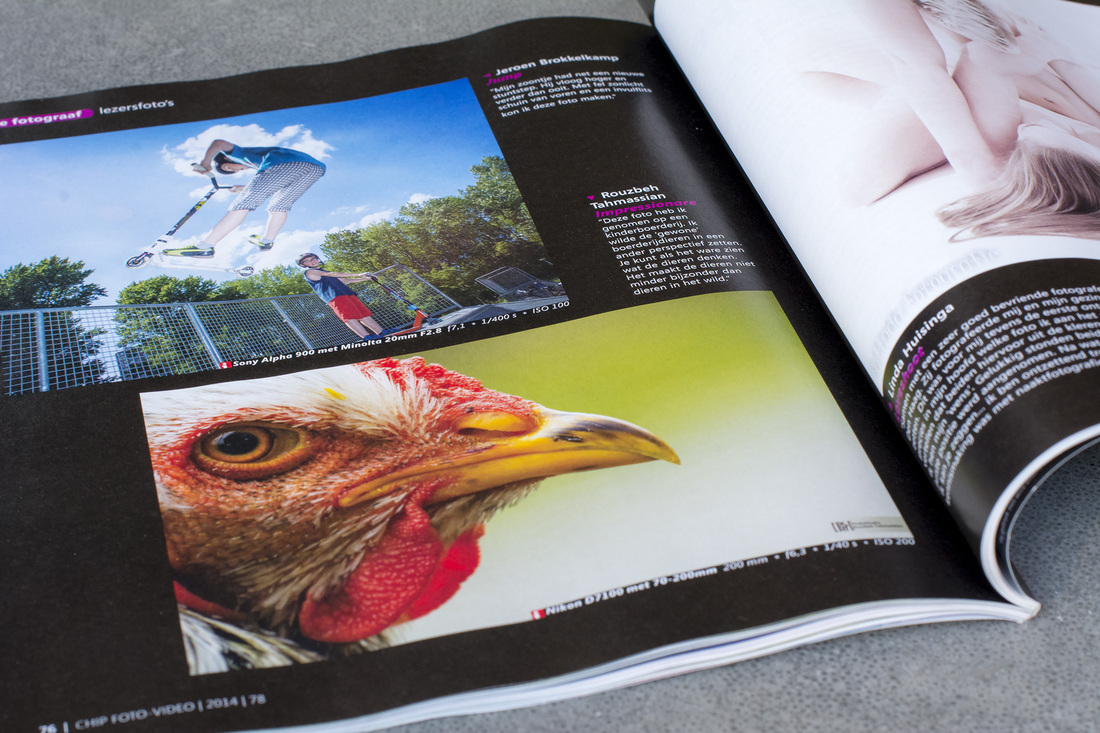 The second model photoshoot I did with Sarah was outdoors. The aim of the photoshoot was to create a dreamy world and offcourse to have fun while doing it. This serie is called 'Red blossom fairytale'. I'm pleased with the softness and ambience of the shots. And again It was great working with Sarah. Technical information: Nikon D7100, Nikon AF-S 50mm F/1.4G. 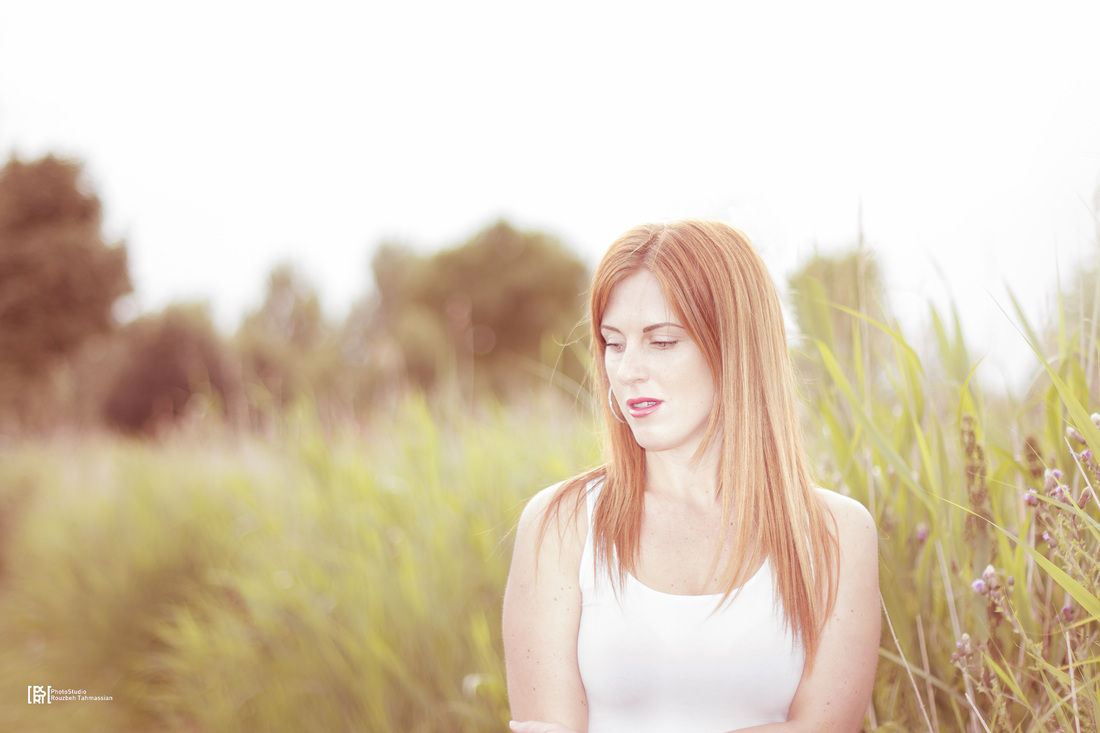
 The power of simplicity is displayed by my ´Signs´. The monochrome properties remove the distracting saturation, which extra emphasizes the sign in the lake. To be able to shoot these scenaries you need to use high exposures during daytime. The only way to achive this is by using ND-filters. Technical information: Nikon D7100, Tokina 11-16mm F/2.8 AT-X DX, B+W 110 ND.  This is my first short tutorial about a technique I’ve been trying out lately. Ever since I got my Nikon D7100 I’ve been wondering when I would start to invest in some good quality filters. Taking into consideration I’m using a cheap 18-105mm kitlens for my landscape photography nowadays. Would I really spend like €200-€300 for buying a good ND set? If I should upgrade to a 14-24mm f/2.8 or 16-35mm f/4 then it would be time to spend some serious money on serious filter-systems. The question remains: is there a way to make long exposures without using any filters (ND-filters) during daytime? The answer is obvious or else this tutorial would be meaningless. So if you like to make those creamy water landscape shots without a filter during daytime, sunset or sunrise keep on reading. 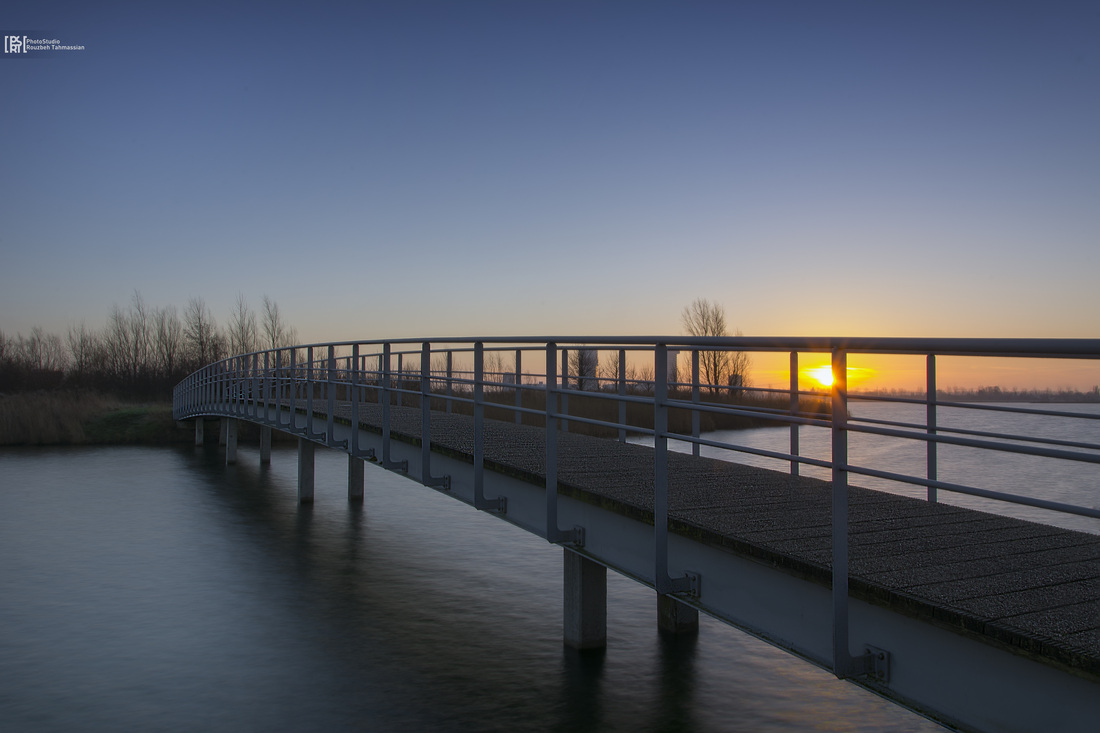 EXIF data: Nikon D7100, Nikon AF-S DX 18-105mm f/3.5-5.6G ED VR, 1/8 sec., f/22, ISO 100. 20 images, total exposure 2,5 sec. Basic requirements and shooting The first thing you need to do is to understand the meaning of this technique. Normally when you use a ND filter (4, 6 or big-stopper) you’re stopping light from getting onto your camera sensor and thereby extending your exposure time. This gives you that creamy water or clouds, which is basically the softening of any movement across your frame. This wouldn’t be possible without these filters during daytime. What you’re looking at is to mimic these long exposures without filters. The purpose is to shoot 5-20 shots with exactly the same exposure conditions (ISO, exposure time and aperture). The things you really need is a good and sturdy tripod to minimize movement, as also a wired of wireless shutter release. These are essential pieces of equipment. The tripod also needs to be positioned as sturdy as possible. You could use software to align frames afterwards, but this will only extend your normal post-processing time. Essentially you need to shoot a single shot until you’ve reached the perfect exposure time and aperture, using the lowest possible ISO. I usually use high apertures (> f/22) to get higher exposure times (taking into account this could cause diffraction). Once you’ve got the settings for the single shot, you’ll take 5-20 frames using your tripod and wired/wireless shutter release. Try to use the same delay time between shots. The delay time doesn’t matter a lot as long as you use about the same time between every frame. I just keep counts in my head. Post-processing When you get back with 5-20 RAW files it’s time to do the stacking. This means you’ll have to stack all these images on top of each other. I’m not going to compare Lightroom and Photoshop here, but both basically will do the same. The first step is to open the frames in separate layers in your software-program. The second step is to set the opacity for each layer in a strict order. The formula you use for this: opacity = 100 x (1/(L+1)), where L stands for number of layers below the current layer. The layer on the bottom gets a 100% opacity. The opacity of the layers above it are set by the formula, where you could choose to round up or down the numbers. I’ve calculated the opacity of the first 20 layers for you, rounding down the numbers: Layer # Opacity 20 5% 19 5% 18 6% 17 6% 16 6% 15 7% 14 7% 13 8% 12 8% 11 9% 10 10% 9 11% 8 12% 7 14% 6 17% 5 20% 4 25% 3 33% 2 50% 1 100% Once you’ve done this you’ll see a faked ND-filter effect. Because you’ve used these short exposure times (relatively to longer exposure times with filters) you’ll see almost no noise and absolutely no hotspots. This technique takes time to get used to. Also the post-processing is more extensive. But once you master it, it’s quite fun to do. 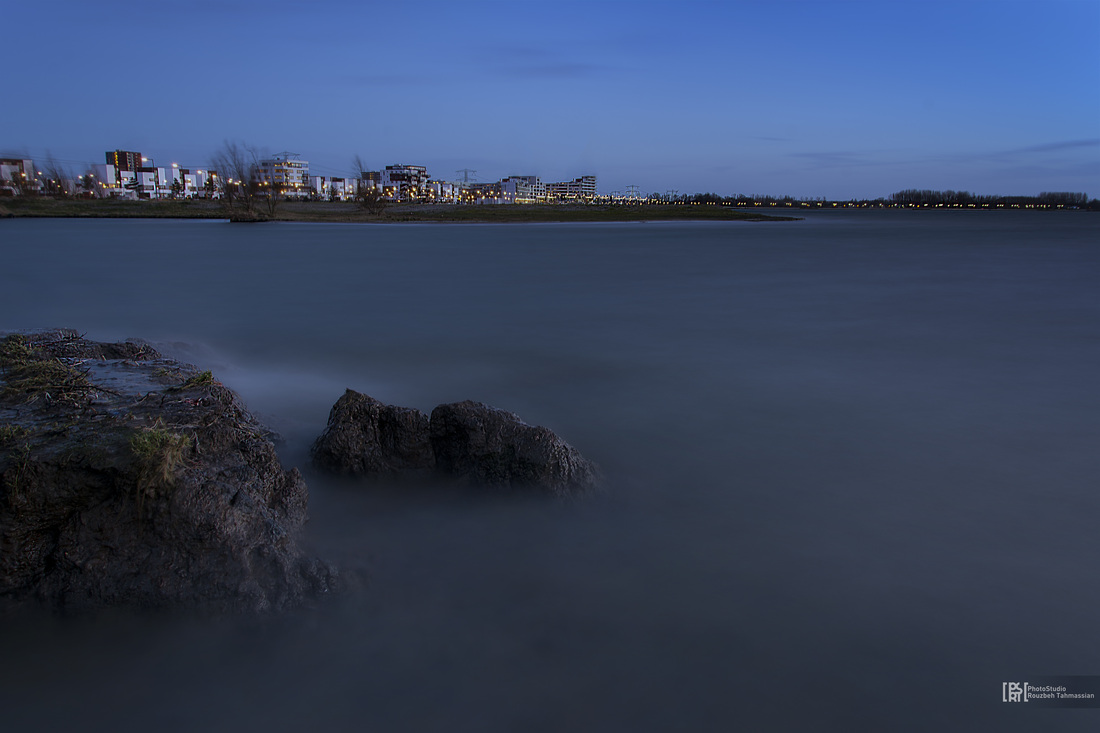 EXIF data: Nikon D7100, Nikon AF-S DX 18-105mm f/3.5-5.6G ED VR, 3 sec., f/10, ISO 100. 20 images, total exposure 60 sec. Links It’s obvious I did not make this all up. I’ve read a lot of other tutorials about it. These links I strongly recommend when you are completely new to this stuff.
This is a new technique I've been trying lately, the "Zoom effect". Basically the trick is to zoom in while taking a picture. In this case I had a prime lens (105mm), so I just moved my camera forwards after pushing the button. Sounds easy, but takes a little practice to get it right and create a magical and intriguing scenery. Technical information: Nikon D7100, Nikon AF-S 105mm F/2.8G iF ED VR Micro, 1 sec., f/20, ISO 100, no tripod. 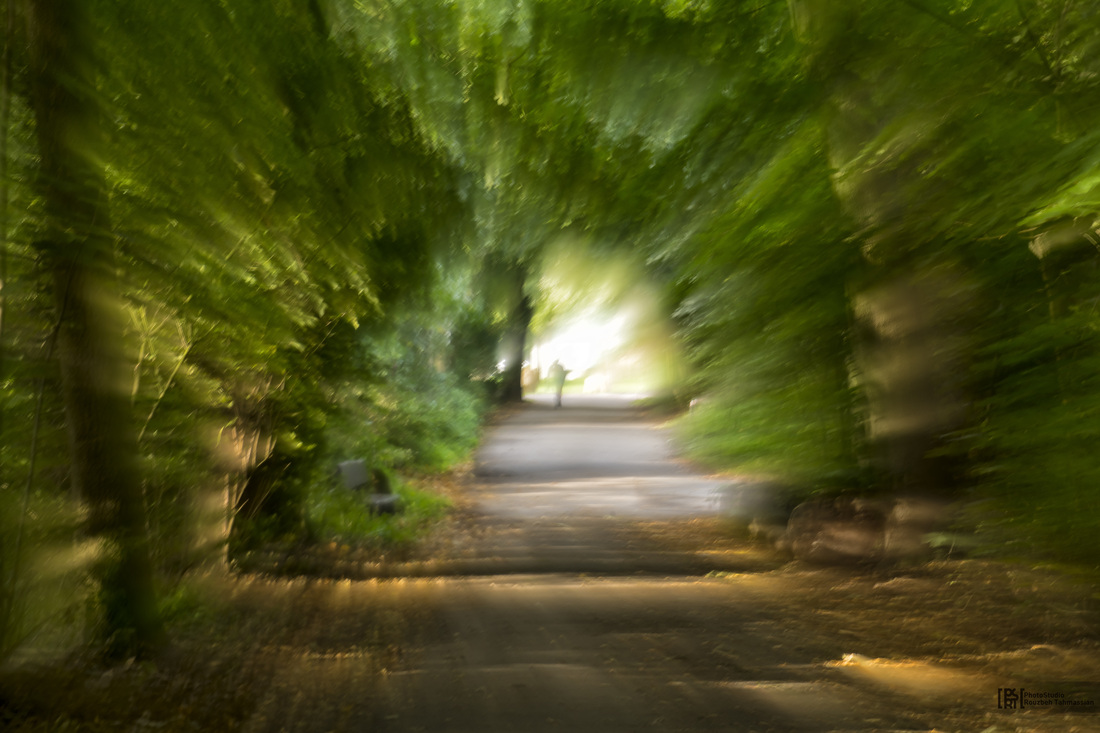 |
|


 RSS Feed